


Bondo Glazing & Spot Putty
Our glazing putty delivers professional-grade results for minor surface imperfections that don't require heavy filler. This smooth, spreadable formula fills pinholes, scratches, and small dings in automotive finishes without the shrinking or cracking common in thicker body fillers.
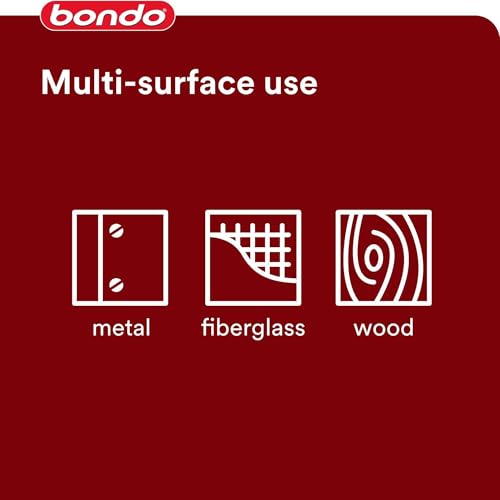
Whether you're prepping a panel for paint or finishing a restoration project, this putty spreads thin and sands to a smooth surface that accepts primer beautifully. We designed it to work over bare metal, fiberglass, aluminum, galvanized metal, and existing body filler, giving you versatility across every stage of your repair.
Formula & application details
Formula & Surface Compatibility
We formulated this bondo glazing putty with a fine-grain polyester resin that spreads thinner than traditional body fillers while maintaining superior adhesion. The consistency sits between liquid spot putty and heavy-duty filler, giving you precise control when addressing surface-level defects.
The putty bonds directly to bare steel, aluminum, fiberglass, and SMC (sheet molded compound) without additional adhesion promoters. You can also apply it over fully cured body filler to smooth transition areas or fill any pinholes that appear during block sanding. For galvanized metal, we recommend light scuffing with 180-grit sandpaper before application to ensure maximum bite.
Application Technique & Working Time
Proper Spreading Method
Apply bondo glazing putty with a flexible plastic spreader held at a low angle to the surface. Use firm, overlapping strokes to work the material into imperfections while keeping the surrounding layer as thin as possible. The goal is to fill the defect flush with the panel rather than building excess material that requires heavy sanding.
The putty remains workable for approximately 5-7 minutes after dispensing, depending on temperature. In hot shop conditions above 85°F, working time decreases to 3-4 minutes. We recommend spreading only the amount you can feather smooth within this window.
Ideal Use Cases & Limitations
This glazing putty excels in final surface preparation before primer, particularly when you’ve already completed major body filler work. It’s the product we reach for when block sanding reveals scattered pinholes across a large repair area, or when a panel shows minor scratches and dings that don’t justify mixing a full batch of filler.
Restoration projects benefit significantly from glazing putty during the metal finishing stage. After hours of hammer-and-dolly work or stud welding, panels often show tiny low spots and tool marks invisible until you guide-coat the surface. A thin skim coat of this putty addresses these imperfections without adding unnecessary weight or thickness.
Complete Your Auto Body Repair
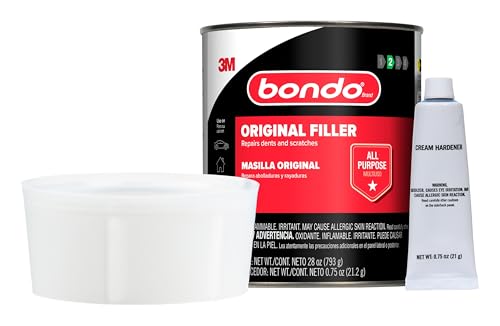


Rated 4.8 by verified buyers


Common Questions About Bondo Glazing & Spot Putty
No, you should sand through paint to reach bare metal, fiberglass, or cured body filler before applying glazing putty. The putty bonds mechanically to properly prepared substrates, not to paint layers.
Applying over paint creates a weak bond that will fail during sanding or after exposure to heat and vibration. Always remove paint from the repair area and scuff the underlying surface with 80-120 grit sandpaper for proper adhesion.
We recommend keeping individual applications at or below 1/4 inch thick. The product is designed for surface imperfections, not structural filling.
For deeper repairs, use traditional body filler first, allow it to cure completely, then apply glazing putty over the filler to address any remaining pinholes or surface irregularities. Multiple thin coats of glazing putty will perform better than one thick application.
Bondo glazing putty requires spreading with a plastic applicator and offers more working time for covering larger surface areas. Spot putty comes in a tube with a brush applicator built into the cap and is designed for tiny pinholes you can fill with a single dab.
Glazing putty works better when you're skim-coating an entire panel or filling scattered imperfections across a large repair. Spot putty excels for touching up individual pinholes after guide-coating or addressing small defects in otherwise finished surfaces.
You can begin sanding approximately 30 minutes after application at typical shop temperatures around 70-75°F. In warmer conditions above 85°F, cure time may decrease to 20-25 minutes.
Test a small edge with 80-grit sandpaper—if the putty sands cleanly without gumming or peeling, it's ready for finish sanding. If it smears or clogs the paper, allow another 10-15 minutes of cure time before proceeding.
Our non-shrinking formula cures to its final thickness during the initial 30-minute cure cycle. Unlike some glazing compounds that continue shrinking for days or weeks, this product reaches dimensional stability quickly.
To ensure the best results, allow the putty to cure fully before applying primer, and complete all sanding in one session rather than returning to sand partially-cured material. Proper application technique—spreading thin coats and avoiding excessive buildup—also prevents any appearance of shrinkage.
Standard bondo glazing putty is formulated for metal and fiberglass surfaces, not flexible plastic bumpers. Plastic bumpers require specialized flexible fillers that can bend without cracking.
For rigid plastic components like some aftermarket body kits, the putty will adhere if you properly scuff the surface. However, we recommend testing adhesion on an inconspicuous area first, as some plastics require adhesion promoters for reliable bonding.
Wipe the nozzle threads clean before replacing the cap, and store the tube upright in a cool location. Even small amounts of putty left on the threads will cure and make the cap difficult to remove.
If the tip does clog, use a utility knife to cut away the hardened portion rather than trying to squeeze through the blockage. Keeping the tube at consistent moderate temperatures between 60-80°F also extends product life and maintains proper consistency.